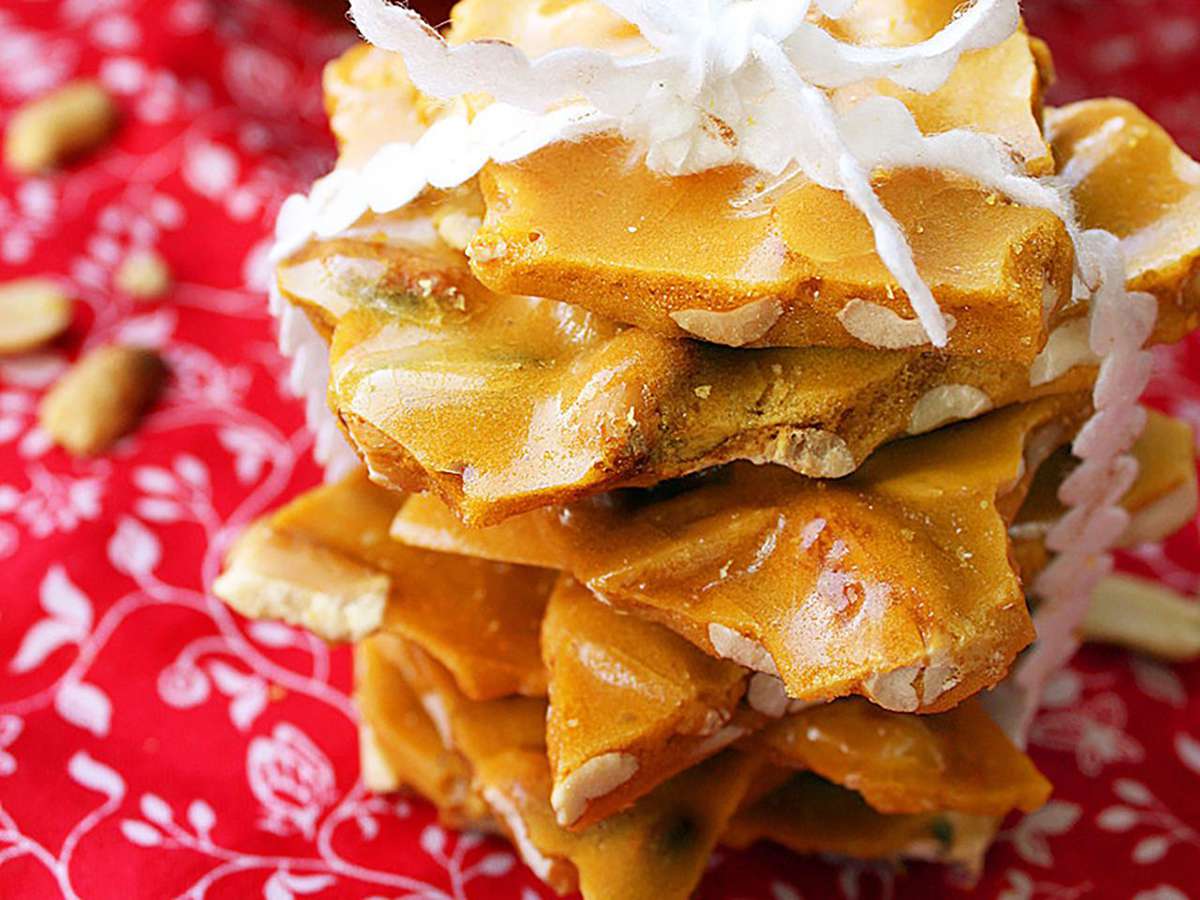
There's a certain magic that happens when sugar, butter, and peanuts come together to create that quintessential crunchy, sweet, and nutty delight: peanut brittle. A timeless confection, peanut brittle holds a special place in the hearts of many, often conjuring memories of holidays, family gatherings, or simply a well-deserved treat. Its buttery richness and satisfying snap make it utterly irresistible, a candy that begs to be munched on and shared.
For some, the thought of making candy at home can be intimidating, a venture best left to professional confectioners. Perhaps you, like many, have shied away from brittle-making, feeling it's too complex or prone to failure. But what if we told you that crafting your own homemade peanut brittle is not only achievable but also incredibly rewarding? With a few key techniques and the right approach, you can create a buttery, crunchy, and absolutely foolproof batch that rivals even the finest store-bought varieties. Get ready to discover the secrets to a truly unforgettable peanut brittle recipe.
The Irresistible Allure of Homemade Peanut Brittle
Imagine the aroma wafting through your kitchen as sugar caramelizes and butter melts, soon to envelop roasted peanuts in a golden embrace. That's the promise of homemade peanut brittle. Unlike mass-produced versions, your homemade creation offers an unparalleled freshness and a depth of flavor that simply can't be replicated. You control the quality of ingredients, ensuring every bite is pure perfection.
Many brittle enthusiasts recall the exquisite taste of premium candies, but mastering a homemade version means you can achieve that same smooth, buttery texture and satisfying crunch right in your own kitchen. It's the kind of treat that practically disappears during a photoshoot, a testament to its deliciousness! Beyond personal indulgence, homemade peanut brittle shines as a thoughtful gift. Packaged in festive tins or bags, it makes a cherished present during the holidays, wowing everyone with its classic charm and irresistible flavor.
Essential Ingredients for Brittle Bliss
The beauty of a classic peanut brittle recipe lies in its simplicity. You likely have most of the core ingredients in your pantry right now. However, understanding the role each component plays is key to achieving that perfect candy crunch and buttery finish. For best results, it's crucial to have all your ingredients measured out and ready before you begin – this process moves quickly!
- Sugar: The foundation of our brittle, white granulated sugar provides the essential sweetness and structure.
- Corn Syrup: This often-overlooked hero is vital! Light corn syrup prevents sugar crystals from forming, ensuring your brittle is perfectly smooth and not grainy.
- Water: A small amount of water helps the sugar dissolve evenly at the beginning of the cooking process.
- Salt: A pinch of salt is crucial for balancing the sweetness and enhancing all the other flavors. If you opt for salted butter, you might reduce or omit additional salt.
- Peanuts: The undeniable star! Unsalted, roasted peanuts are typically preferred, allowing you to control the overall saltiness. Freshness is key for the best flavor.
- Butter: This is where many recipes fall short. For a truly rich, smooth, and buttery brittle, don't skimp on the butter! Unsalted butter is generally recommended, as it allows you to manage the salt content precisely. A generous amount of butter contributes significantly to the brittle's mouthfeel and flavor.
- Baking Soda: The secret ingredient for that unique, airy, and pleasantly "brittle" texture. When added at the right moment, baking soda reacts with the hot sugar mixture, creating tiny air bubbles that make the candy easy to break and delightful to eat, preventing it from being rock-hard. For more in-depth insights into this fascinating ingredient, check out our guide on Secrets to Perfect Peanut Brittle: Baking Soda & Butter Tips.
Mastering the Art of Peanut Brittle Making
While making peanut brittle requires attention and quick reactions, it's far from daunting. Think of it as a dance: swift, precise movements for a beautiful outcome. Having the right tools, especially a reliable candy thermometer, will set you up for success. You'll also want a heavy-bottomed saucepan to ensure even heat distribution and prevent scorching, along with a parchment-lined baking sheet or a marble/granite slab for cooling.
- Prepare Your Station: Before you even turn on the heat, ensure your parchment-lined baking sheet is ready and all your ingredients are measured and within arm's reach. This is non-negotiable, as the process moves very quickly once the cooking begins.
- Sugar Base: Combine your sugar, corn syrup, water, and salt in the saucepan. Stir gently over medium heat until the sugar dissolves completely.
- The Boil: Bring the mixture to a boil without stirring. Insert your candy thermometer and continue cooking until the syrup reaches the 'hard crack' stage, typically between 300-310°F (149-154°C). This high temperature is crucial for the brittle's final texture. If you don't have a thermometer, you can test by dropping a small amount of syrup into cold water; it should form hard, brittle threads instantly.
- Introduce the Stars: Once the hard crack stage is reached, quickly stir in the peanuts and butter. Work swiftly to incorporate them evenly.
- The Baking Soda Magic: This is the dramatic part! Remove the pan from the heat and immediately stir in the baking soda. Watch as the mixture transforms, becoming foamy and lighter in color due to the air bubbles. This effervescent reaction is what gives brittle its signature texture – making it pleasantly crisp rather than tooth-shatteringly hard.
- Pour and Spread: As soon as the baking soda is mixed in, pour the hot mixture onto your prepared surface. Working quickly, use the back of a greased spoon or a heat-resistant spatula to spread the brittle thinly and evenly. The thinner you spread it, the crispier your brittle will be.
- Cool and Break: Allow the brittle to cool completely at room temperature. Do not refrigerate, as this can introduce moisture and make it sticky. Once fully hardened, lift the brittle from the parchment and break it into irregular pieces using your hands, a meat mallet, or the back of a sturdy spoon. Some prefer smaller, bite-sized pieces, while others love large, dramatic shards.
Tips for Foolproof, Buttery & Crunchy Peanut Brittle
Achieving that perfect, shatter-crisp, buttery peanut brittle is within your reach. Here are some pro tips to ensure your success every time:
- Invest in a Good Candy Thermometer: Precision is paramount in candy making. A reliable candy thermometer is your best friend, ensuring you hit that crucial hard crack stage. Eyeballing can lead to a sticky, chewy mess or a burnt, bitter outcome.
- Don't Be Shy with Butter: As highlighted earlier, butter is key to the richness and smoothness of the brittle. Many recipes use too little. A more generous amount of unsalted butter creates a truly decadent flavor and a better mouthfeel.
- The Power of Baking Soda: Don't skip or skimp on the baking soda! It's the magical ingredient that aerates the sugar mixture, making the brittle light, airy, and easy to bite into. Without it, you'd have a solid, hard candy that could challenge your dental work. Remember to add it *off* the heat for the best reaction. For an even deeper dive into this, refer to our article on Secrets to Perfect Peanut Brittle: Baking Soda & Butter Tips.
- Work Quickly and Confidently: The sugar mixture cools and sets rapidly once removed from heat. Have everything prepped and be ready to move with purpose when stirring in the peanuts, butter, and baking soda, and especially when spreading.
- Even Spreading is Essential: The thinner and more evenly you spread the brittle, the better its texture will be. Thicker sections might remain chewier, while thin edges will be exquisitely crisp.
- Cool at Room Temperature: Resist the urge to speed up cooling in the refrigerator. The sudden temperature change can cause condensation, leading to a sticky brittle. Let it cool slowly and completely on the counter.
- Safe Handling: Remember, you're working with extremely hot sugar, which can cause severe burns. Keep children and pets away from the cooking area, wear oven mitts, and exercise extreme caution when handling the hot mixture.
- Storage is Simple: Store your cooled and broken peanut brittle in an airtight container at room temperature. It will stay fresh and crunchy for up to two weeks, though it rarely lasts that long!
- Gifting Galore: Once cooled and broken, your homemade peanut brittle is perfect for gifting. Place pieces in decorative tins, cellophane bags, or mason jars tied with a ribbon. It’s a universally loved treat that always impresses, especially during the festive season. To get more inspiration for holiday treats, check out Mom's Best Peanut Brittle Recipe: Old-Fashioned Holiday Treat.
Making your own peanut brittle is an incredibly rewarding experience. The aroma, the transformation of simple ingredients, and finally, the delightful crunch of a perfectly made piece of candy, are all part of the joy. With these tips and a little practice, you'll be a peanut brittle maestro in no time, ready to impress friends and family with your buttery, crunchy, and absolutely foolproof creation. So gather your ingredients, take a deep breath, and embark on this delicious culinary adventure. You'll be glad you did!
